Glamping promises the best of both worlds: a real bed and solid walls of canvas, with wilderness right outside the door. Yet many first-timers arrive at their tent overpacked with the wrong gear and missing the few items that actually matter. The result is the same every season: heavy bags of duplicates, cold evenings spent in fashion sneakers, and a desperate midnight search for a headlamp that never made it into the car. A glamping trip rewards smart preparation far more than it rewards quantity.
This practical checklist walks you through exactly what to bring, section by section. We start with matching your packing to the season, then cover layering clothes for a 5-30°C swing, the sleep and comfort items most glampers forget, lighting and off-grid power, kitchen and water basics for self-catering sites, and toiletries and first aid. A quick summary checklist at the end ties it all together so you can pack light, sleep warm and enjoy the great outdoors.
Before You Pack: Match Your Glamping Trip to the Season
Before anything goes into your bag, find out what the climate at your destination actually does in your travel month. A quick check of average temperatures and rainfall for that specific month tells you far more than a general idea of the region. In most temperate regions, the peak glamping season runs from May through October, when days are warm and sites are at their busiest.
Here is the detail that catches people out: night temperatures can drop 10-15°C below daytime highs, even in midsummer. A day that peaks at a pleasant 28°C can easily end with a 13°C evening, which is why light summer packing so often leaves glampers shivering on the deck after sunset.
Book early, then ask the right questions
Popular glamping sites book up fast, so reserve your spot 2-3 months ahead if you want a summer weekend. Once your booking is confirmed, ask the host what is provided before you buy anything. Many sites supply bedding, towels and cooking equipment, and showing up with duplicates only wastes space in the car.
Then confirm the details again 1-2 weeks before arrival. Policies change, inventory varies between tents, and a short email now saves you from discovering at check-in that the “fully equipped” tent means a kettle and nothing else.
Clothing: Layer for a 5-30°C Swing
The single biggest packing mistake on a glamping trip is dressing for the daytime forecast. With temperatures that can swing from 5°C at dawn to 30°C in the afternoon across one multi-day trip, the fix is simple: layers. Start with breathable base layers, add a fleece mid-layer for warmth, and top it with a windproof shell you can pull on or off in seconds. This three-part system handles cold mornings, hot afternoons and breezy evenings without needing a separate outfit for each condition. It also packs down far smaller than bulky single-purpose pieces, which matters when you are sharing a tent with gear.
Rain deserves its own planning. In shoulder months like April, May and September, showers are a real possibility, so waterproofs are essential rather than optional. Quick-dry trousers also earn their space, since wet denim can take a full day to dry and cotton next to damp skin is miserable. Wool socks are worth doubling up on too, because damp feet at camp can sour an otherwise great trip faster than almost anything else.
Here is a quick way to think through each clothing item before it goes in the bag:
- Base layers in merino or synthetic fabric: they keep insulating even when damp, unlike cotton, which stays wet and cold against your skin.
- A packable fleece: choose one light enough to stuff into a daypack, so you always have warmth on hand for an unplanned evening outside.
- Waterproof jacket with a hood: umbrellas are useless around camp, and a hood keeps rain out while your hands stay free for cooking or gear.
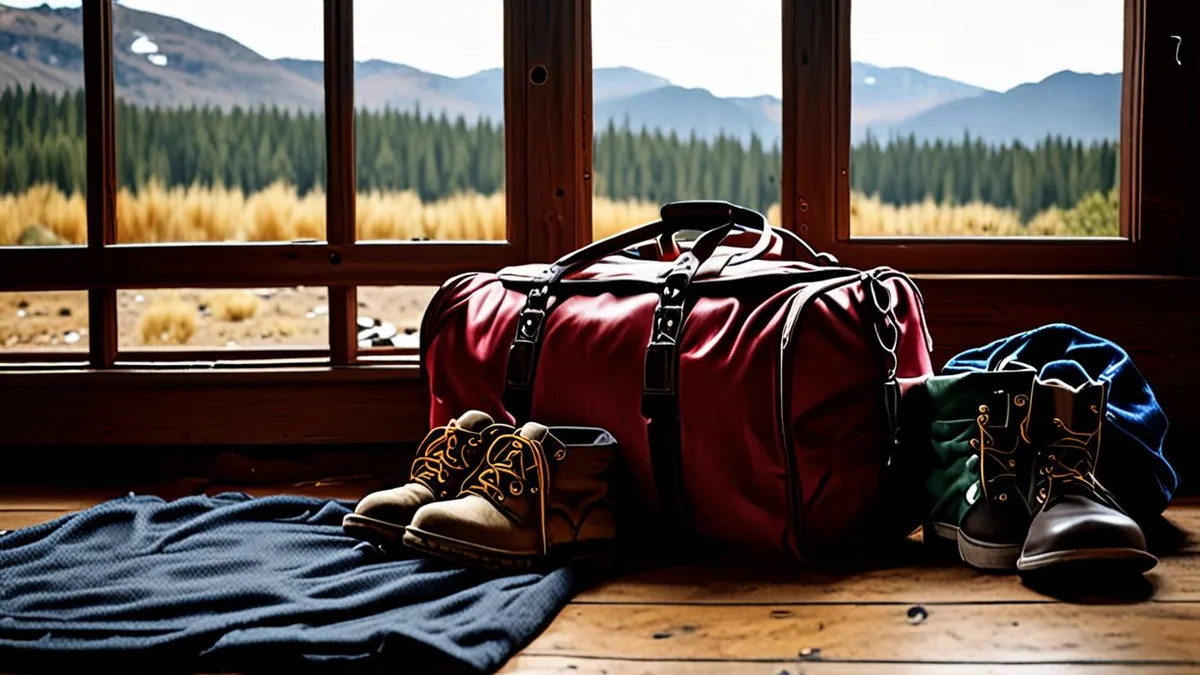
- Two pairs of shoes: sturdy closed shoes handle mud, gravel and uneven ground at camp, while slides or sandals keep the tent floor clean and give your feet a break.
- Warm hat and light gloves: pack them even in summer, when your fingers and ears will notice that after-dark temperature drop long before the rest of you does.
Sleep and Comfort Items Most Glampers Forget
Glamping means you usually get a real bed, but “bed provided” does not always mean “bedding provided.” Most glamping sites do include bedding, yet policies vary enough that you should call ahead and confirm. Even when linens are included, pack a silk or fleece sleep liner as backup. It adds warmth on a cold night, keeps things hygienic if the bedding has seen better days, and takes up almost no space in your bag.
Nature also has its own schedule. Sunrises come early through thin tent canvas, and wildlife noise does not respect your sleep. An eye mask and a pair of soft earplugs weigh a few grams and can be the difference between a restful night and a broken one. If you are particular about pillows, bring your own: site pillows vary widely, and a bad one can undo everything else you packed correctly.
A few small comforts that rarely make the average packing list:
- A compressible travel pillow: if a full-size pillow from home feels excessive, a squishable camping version gives you consistent neck support without hogging the car.
- Slip-on layers by the bed: keep a fleece jacket and easy slide-on shoes within arm’s reach for midnight trips to shared bathroom facilities, when fumbling with laces in the dark is the last thing you want.
- Comfort inspiration from hotels: if you want ideas for making a temporary bed feel genuinely restful, it helps to see how the pros do it, as in this look at sleeping well in style at The Battery in San Francisco.
- A small familiar item from home: a favorite book, a familiar throw or your usual bedtime tea helps you settle faster in an unfamiliar space, especially on the first night.
Lighting and Off-Grid Power Essentials
Glamping sites are often off-grid, and lighting is the thing travelers underestimate most. Once the sun sets, you are relying entirely on what you brought, so plan for each person to have their own light source rather than sharing one torch between four people.
A headlamp with 200-300 lumens is sufficient for camp use. It keeps your hands free for cooking, finding things in a dark tent or walking to shared facilities, which matters far more than raw brightness. Add one freestanding lantern for the tent’s common area so you can eat, play cards or read without everyone wearing a headlamp at the table.
Power is the second gap. Outlets at many sites are limited or absent entirely, so a power bank of at least 10,000 mAh is the practical minimum for keeping a phone alive across a multi-day trip. Charge everything fully before you leave home, including the power bank itself, and toss spare batteries for any devices that use them.
Finally, sort your navigation before you arrive. Signal at remote sites is often weak or nonexistent, so download offline maps while you still have reception. Do it at home or on the drive in, not after you have already lost coverage.
- Choose a headlamp with a red-light mode so you can read or move around at night without blinding everyone else in the tent.
- Look for a lantern that doubles as a power bank, so one device covers both lighting and emergency phone charging.
- Pack spare batteries in a small ziplock bag so they stay dry and you can find them instantly in the dark.
- Bring a short charging cable plus a longer one, since the outlet or power bank may sit across the tent from your sleeping spot.
- Set your phone to low power mode on arrival day to stretch the first charge until you have a charging routine sorted.
Kitchen, Food and Water for Self-Catering Sites
Self-catering is where glamping trips succeed or fail, so start with a message to your host. Confirm whether a stove, cooler and cookware are provided before you buy or pack anything. Many sites supply a basic setup, but the quality and completeness vary, and a missing pot lid is a frustrating discovery at dinnertime. If nothing is provided, a single-burner camp stove covers almost all camp cooking.
Plan meals around one pot. Stews, pasta, stir-fries and one-pan breakfasts mean less washing up with limited water and fewer things to carry in. Round them out with shelf-stable snacks for hikes, since trail hunger hits hardest exactly when the nearest shop is an hour away.
Water deserves its own planning. Bring refillable water bottles and aim for 2 liters per person per day as a baseline, more in hot weather or on hiking days. At remote sites where the tap water is questionable, pack a filter so refills do not depend on bottled water.
Cleanup is the part most people forget until the first pile of dishes appears. Biodegradable soap, trash bags, a small cutting board and a knife with a sheath turn a makeshift setup into a workable kitchen.
- Pre-mix spices for each planned meal into small labeled containers or bags, so you are not carrying full jars of everything.
- Pack a sponge or dishcloth plus a quick-dry tea towel, since drying space at shared wash stations is often minimal.
- Freeze water bottles before you leave home and use them as ice blocks in the cooler on day one, then drink them as they thaw.
- Choose a knife with a locking blade or fixed sheath, and pack it in checked luggage if you are flying to the site.
- Bring a spare lighter or matches in a waterproof container, because stoves fail exactly when you are hungriest.
Toiletries, First Aid and Weather Protection
Even with real beds and solid walls, a glamping tent is still outdoors, and your toiletry bag should reflect that. If showers are shared, reef-safe toiletries and a quick-dry towel are the two items that make the biggest difference. Quick-dry towels pack small, hang to dry overnight and never develop that damp smell a regular bath towel gets in a tent.
First aid is simple but easy to skip. A compact kit with blister plasters, antiseptic and any personal medication covers the vast majority of camp mishaps, from a long hike to a stumble over a tent guy-line. Keep it somewhere you can find in the dark.
Sun and insects are the daily reality from May to October, so SPF 30+ sunscreen and insect repellent are both essential for the peak season. Apply sunscreen in the morning before you get distracted by breakfast, and keep repellent by the door for evenings.
Rain protection for your gear matters as much as for your body. Dry bags or ziplock pouches keep electronics safe in a downpour, and they cost almost nothing compared to the phone or camera they protect.
- Pack medication in its original packaging with a copy of the prescription, in case you need a refill or face questions at a pharmacy.
- Choose a solid sunscreen bar or stick for your carry-on, since it skips liquid limits and cannot leak onto your clothes.
- Bring a small pack of wet wipes for freshening up when the walk to shared showers feels too long at night.
- Add a couple of blister plasters to your daypack pocket as well as the main kit, so help is on hand mid-hike rather than back at camp.
- Squeeze air out of ziplock pouches before sealing, so electronics take up less space and are easier to spot in a packed bag.
Final Glamping Trip Packing Checklist at a Glance
Glamping promises a real bed in the wild, yet many first-timers arrive with a stuffed car and still miss the things that matter. The fix is simple: pack for the conditions, not for every scenario. That means clothing in layers for a 5-30°C swing, waterproofs for the shoulder months, and warm extras for evenings when the temperature drops.
Focus on the small items that make or break a night outdoors: sleep comforts like a sleep liner and eye mask, a 200-300 lumen headlamp, a 10,000 mAh power bank and offline maps for remote sites. For self-catering, keep it lean with one-pot meals, 2 liters of water per person per day and biodegradable toiletries. Above all, confirm what the site provides 1-2 weeks before arrival so you pack only what is missing. If this checklist helped you plan your trip, leave a comment or share it with a fellow glamper.